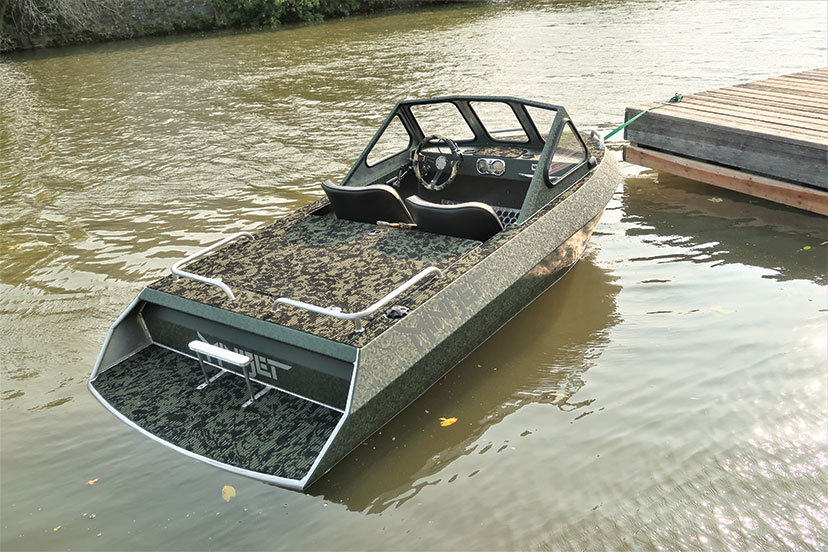
Mini Jet Boat Building Guide for Beginners
Building a mini jet boat can be an exciting and rewarding project for beginners. This guide will take you through the process step-by-step, providing all the information you need to get started and successfully complete your project.
Choosing Your Materials
The first step is to choose the right materials. Here's a breakdown of the essential components:
Hull
You can choose from various materials for your hull:
- Fiberglass: Strong, durable, and versatile. Requires more work for molding and shaping.
- Plywood: Relatively inexpensive and easy to work with. Requires careful sealing to prevent water damage.
- PVC Pipe: Lightweight and easy to shape. Requires additional structural support for strength.
Engine
Choose a small, high-performance gasoline or electric motor suitable for your boat's size and intended use. Consider factors like:
- Power output: Matches the boat's weight and intended speed.
- Reliability: Choose a reputable brand with good customer support.
- Fuel type: Gasoline or electric depending on your preferences and access to power sources.
Jet Drive
A jet drive system is essential for propelling your boat. You can purchase a pre-made jet drive unit or build your own using:
- Impeller: A rotating blade assembly that draws water and propels the boat forward.
- Housing: A protective casing for the impeller and other components.
- Nozzle: A tapered opening that directs the water jet for thrust.
Other Materials
- Control System: Steering wheel, throttle, and control cables.
- Batteries: For electric motors, choose batteries with sufficient capacity and discharge rate.
- Hardware: Bolts, nuts, screws, and other fasteners.
- Paint and Finishing Materials: Protect the hull and enhance aesthetics.
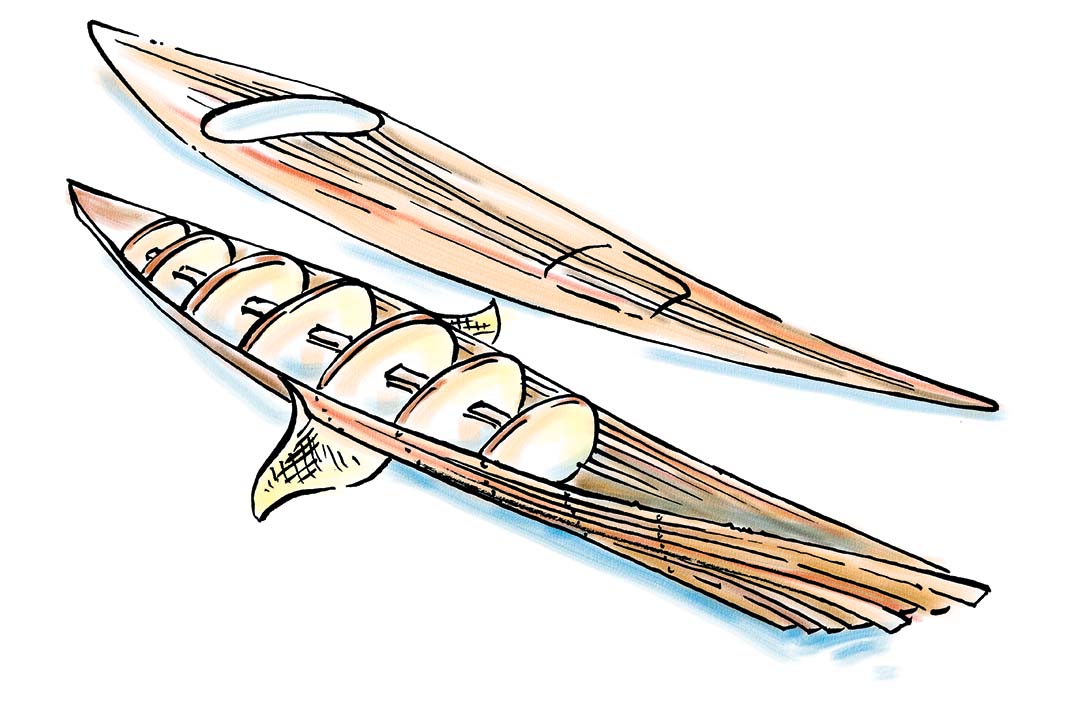
Hull Construction
The hull construction process varies depending on the chosen material. Here's a general overview:
Fiberglass Hull
- Mold: Create a mold using wood or other materials to shape the hull.
- Laying Up Fiberglass: Apply layers of fiberglass cloth and resin to the mold, following the manufacturer's instructions.
- Finishing: Once cured, remove the hull from the mold, sand, and apply finishing layers.
Plywood Hull
- Cut and Shape: Cut plywood sheets into the desired hull shape using a jigsaw or table saw.
- Assembling: Glue and screw the plywood pieces together to create the hull structure.
- Sealing: Apply a waterproof sealant to all seams and joints.
PVC Pipe Hull
- Cutting and Shaping: Cut and shape PVC pipes using a saw and a heat gun.
- Assembling: Join PVC sections using PVC cement or glue.
- Reinforcing: Add additional structural support with wooden or aluminum frames.
Installing the Engine and Jet Drive
Once the hull is complete, install the engine and jet drive system:
- Mount the Engine: Secure the engine to the hull using a mounting plate and bolts. Consider the engine's weight distribution and balance.
- Connect the Drive Shaft: Connect the engine's output shaft to the jet drive's input shaft using a coupling or universal joint.
- Install the Jet Drive: Mount the jet drive assembly to the hull, ensuring it's properly aligned with the drive shaft.
- Secure the Jet Nozzle: Attach the nozzle to the jet drive unit, ensuring a watertight seal.
Electrical System
Set up the electrical system for the engine and any other accessories:
- Battery Connection: Connect the battery terminals to the engine's starter motor and electrical system.
- Wiring: Run wiring for the engine, jet drive, steering, and other accessories, ensuring proper connections and grounding.
- Circuit Breaker: Install a circuit breaker for safety and to protect the electrical system.
Control System
Install the control system for steering and throttle control:
- Steering Wheel: Mount the steering wheel and connect it to the steering cable.
- Throttle Control: Install the throttle lever and connect it to the engine's throttle cable.
- Control Panel: Create a control panel to house the steering wheel, throttle lever, and other control buttons.
Finishing and Testing
After completing the construction, finish the boat and test its functionality:
- Painting and Finishing: Apply paint, sealant, and other finishing materials to the hull and other parts.
- Testing in a Controlled Environment: Test the engine, jet drive, and control systems in a small pool or tank before launching into a lake or river.
- Adjustments and Improvements: Make adjustments to the engine, jet drive, or control system based on the initial testing results.
Safety Precautions
Remember to prioritize safety throughout the building process and during operation:
- Always wear safety goggles, gloves, and appropriate clothing when working with tools and chemicals.
- Follow the manufacturer's instructions carefully for all materials and components.
- Inspect the boat thoroughly before each use, checking for any damage or leaks.
- Always wear a life jacket when operating the boat.
- Operate the boat in calm waters and at a safe distance from other vessels.
Conclusion
Building a mini jet boat is a rewarding project that allows you to learn about boat design, construction, and engineering. With careful planning, meticulous execution, and adherence to safety precautions, you can successfully build your own mini jet boat and enjoy its thrilling performance on the water.