Building a Wooden Kayak Hull: A Comprehensive Guide
Building a wooden kayak hull is a rewarding and challenging endeavor that allows you to connect with traditional boatbuilding methods and craft a unique vessel that reflects your own design choices. This step-by-step guide will lead you through the process, from initial design to final finishing, providing a comprehensive understanding of the techniques and materials involved.
1. Design and Planning
1.1 Conceptualization and Inspiration
Before you begin, it's crucial to have a clear vision of the kayak you wish to build. Consider the following aspects:
- Type of Kayak: Decide whether you want a recreational touring kayak, a sea kayak, or a whitewater kayak. Each type has specific design features to optimize performance in its intended environment.
- Length and Width: These dimensions will affect the kayak's stability, speed, and maneuverability. Research common kayak dimensions to guide your choices.
- Hull Shape: The shape of the hull influences the kayak's glide, tracking, and turning characteristics. Explore different hull designs like round bilge, V-bottom, or flat-bottom.
- Materials: Choose your preferred wood species, considering factors like strength, durability, and availability. Popular choices include cedar, mahogany, spruce, and plywood.
1.2 Drafting and Scale Models
Once you have a conceptual design, translate it into a detailed plan. You can use computer-aided design (CAD) software or traditional drafting methods. Create scaled drawings of the kayak's profile, cross-sections, and stations (measurements along the length of the hull). Building a small-scale model can be helpful to visualize the shape and proportions of the kayak.
1.3 Choosing the Right Wood and Tools
The wood you select will determine the weight, strength, and aesthetic appeal of your kayak. Consider:
- Strength and Durability: Cedar, mahogany, and spruce offer excellent strength and resistance to moisture.
- Weight: Cedar and spruce are lighter than mahogany, making them ideal for touring kayaks.
- Availability: Choose woods that are easily accessible in your region or through online suppliers.
Equip yourself with essential tools, including:
- Hand Planes and Saws: For shaping wood to precise dimensions.
- Clamps and Workbench: For holding and assembling parts securely.
- Screwdrivers and Drill: For fastening components.
- Measuring Tape and Ruler: For accurate dimensions.
- Sandpaper: For smoothing surfaces and removing rough edges.
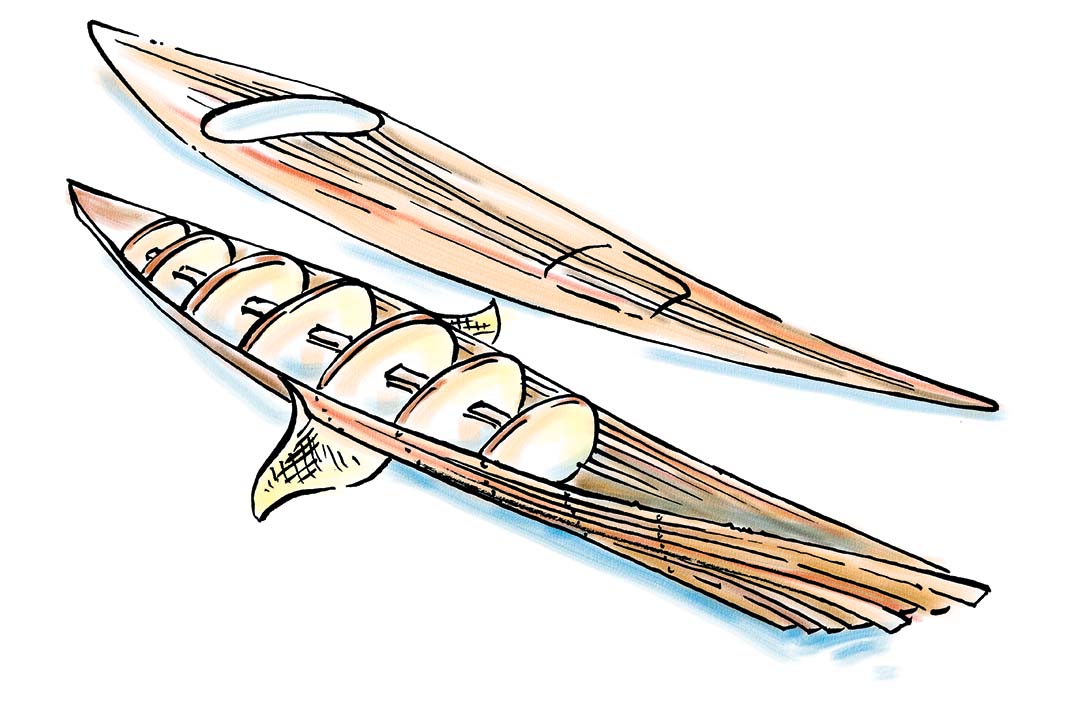
2. Building the Hull Frames
2.1 Constructing the Stems and Keel
Begin by cutting the stems (bow and stern) and the keel (the central backbone of the hull). Use your drawings as templates for accurate dimensions. Ensure that the stems are angled correctly to create a smooth transition from the hull to the deck and the cockpit.
2.2 Building the Ribs
The ribs provide the lateral structure of the hull. Cut and shape the ribs according to your plans, ensuring they are symmetrical and have the correct curvature to match the intended shape of the hull.
2.3 Assembling the Frame
Connect the stems, keel, and ribs using strong joinery techniques, such as mortise-and-tenon joints or scarf joints. Secure the joints with glue and/or screws. Maintain accurate spacing and alignment between the ribs to create a consistent hull profile.
3. Planking the Hull
3.1 Selecting and Preparing the Planking Wood
Choose wood for the planking that is free of knots and defects. Consider using thin strips of wood (often called "planks") that are glued and screwed onto the ribs. Steam-bending the planks can create compound curves and shapes.
3.2 Planking Techniques
There are two primary planking methods:
- Carvel Planking: Each plank overlaps the previous one, creating a smooth, continuous surface. This method is common for modern kayaks.
- Clinker Planking: Each plank sits atop the previous one, creating a series of overlapping edges that give the hull a distinctive "clinker" appearance. This traditional method is more demanding but offers greater durability.
3.3 Gluing and Securing the Planks
Use marine-grade epoxy or polyurethane glue to bond the planks to the ribs. Clamp the planks securely in place until the glue sets. To further secure the planking, drill countersunk holes and fasten the planks to the ribs with screws or bronze nails.
4. Shaping and Finishing the Hull
4.1 Fairing the Hull
After planking, the hull surface will require fairing to create a smooth, continuous shape. Use hand planes, sanding blocks, and wood filler to eliminate any irregularities or bumps. The goal is to achieve a consistently smooth and fair surface for the final finish.
4.2 Applying Epoxy and Finishing
Apply several coats of epoxy resin to the hull, sanding between each coat to create a smooth and durable surface. This will protect the wood from water and moisture, enhancing the kayak's longevity.
After the epoxy has cured, you can add a final layer of paint, varnish, or other finishing treatments to provide additional protection and enhance the aesthetics of the kayak.
5. Building the Deck and Cockpit
5.1 Designing and Constructing the Deck
The deck provides a platform for seating, storage, and other components. Design the deck based on your intended use and preferences. Use similar techniques as for the hull, building a frame and planking it with wood.
5.2 Creating the Cockpit
The cockpit is the opening for the paddler. Cut and shape the cockpit opening in the deck, ensuring it fits comfortably and securely. Install the cockpit rim, which provides support for the seat and serves as a point of attachment for other deck components.
6. Adding Finishing Touches
6.1 Deck Hardware and Accessories
Install essential deck hardware, including:
- Deck Hatch: For access to storage space beneath the deck.
- Bulkheads: Watertight compartments that divide the hull into sealed sections.
- Day Hatch: A small hatch for easy access to gear.
- Carry Handles: For easy transport.
- Foot Braces: For stability and comfort.
6.2 Final Assembly and Refinement
Once all the components are built and finished, assemble the kayak by attaching the deck to the hull. Make sure all joints are tight and secure. Refine any remaining imperfections, apply final finishing touches, and give the kayak a thorough inspection before launching.
7. Launching and Enjoying Your Wooden Kayak
With your newly built wooden kayak, you can explore the waters with a sense of accomplishment and pride. Take time to appreciate the craftsmanship and the unique qualities of your handcrafted vessel. Regular maintenance, including cleaning and inspecting the hull, will ensure your kayak remains in optimal condition for years to come.
0 comments:
Post a Comment
Note: Only a member of this blog may post a comment.